When you really start to dig into the steps of a skincare routine, it can be a little overwhelming!
Gone are the days of just cleansing and moisturizing…
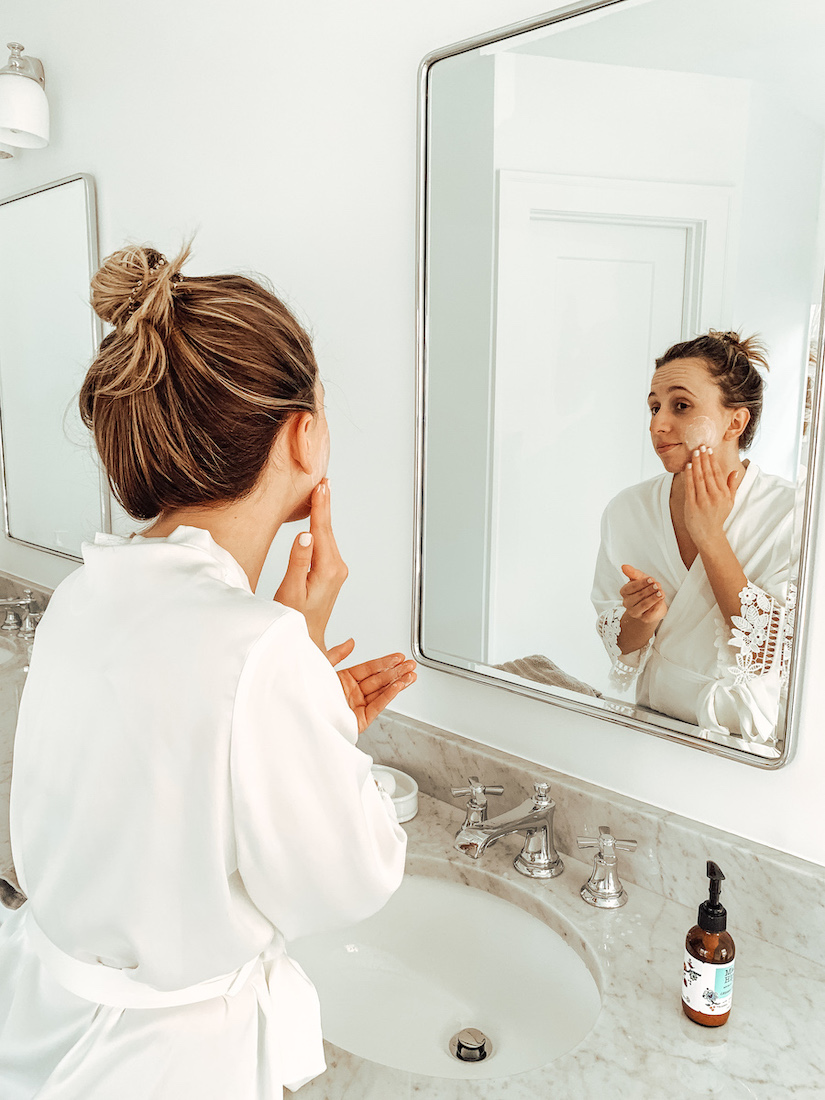
A perfect skincare routine for me has a total of 11 major steps and I’ve learned to love each and every step of the routine. There is so much value in each step, especially when done consistently. For some, an 11-step routine may seem like a lot, but for me, my morning and nightly skin care routine has become almost meditative!
I get all those major #selflove and #selfcare vibes, you know?
In this post I’m breaking down each step, why it’s important, and some of Claudia and I’s favorite products for each. Here’s what we’re getting into:
- Oil cleanser
- Water-based cleanse
- Deep exfoliation (2-3x/week)
- Toner
- Mask (2-3x/week)
- Essence
- Serum
- Moisurizer
- Oil
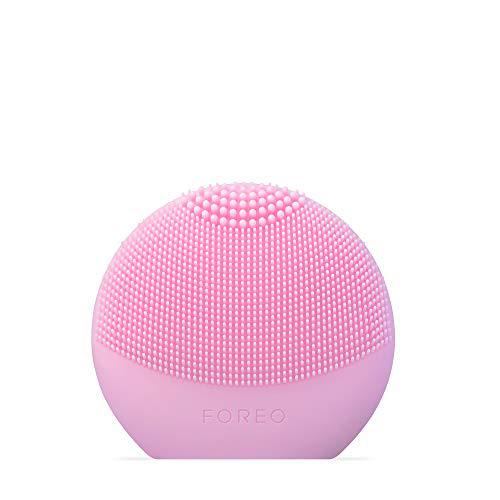
- Facial massage
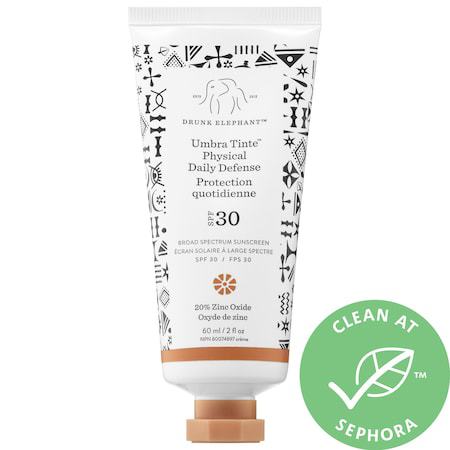
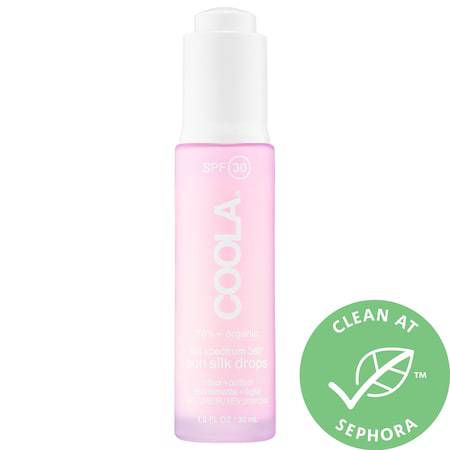
- SPF
General rule of thumb: After cleansing, apply your most watery and thinnest products first and work your way up to the thick and rich products!
Step One: Oil Cleanse
Raise your hand if you’ve ever struggled with removing all of your makeup! If you have, you’re not alone. This has been one of Claudia and I’s struggles for a long time! For a while our go-to makeup remover was micellar water. While micellar water is similar to an oil cleanse since it uses oil molecules suspended in water, it isn’t quite as effective.
Why should we oil cleanse?
Think of oil cleansing as a magnet that lifts all the little roadblocks (makeup, dirt, grime) from your pores, allowing your next cleanser to easier-penetrate your pores and be more effective. Oil cleansing works because of simple science: oil attracts oil! If you’re used to a one-step cleansing routine that just involves a water based cleanser to lift up your daily grime, you may have noticed that when you go to dry your face, makeup is all over your towel (a.k.a. Your face isn’t CLEAN!).
Water and oil aren’t friends so your water-based cleanser will not ever attract your makeup and grime as well as an oil cleanser. Simple as that friends!
NOTE: Different types of oils work best on different skin types. If you have naturally oily or acne-prone skin, look for grapeseed, argan, lavender, or coconut oil. Dry skin? Use avocado, jojoba or sunflower oil. And our sensitive skin friends should look for rosemary or camellia seed oil.
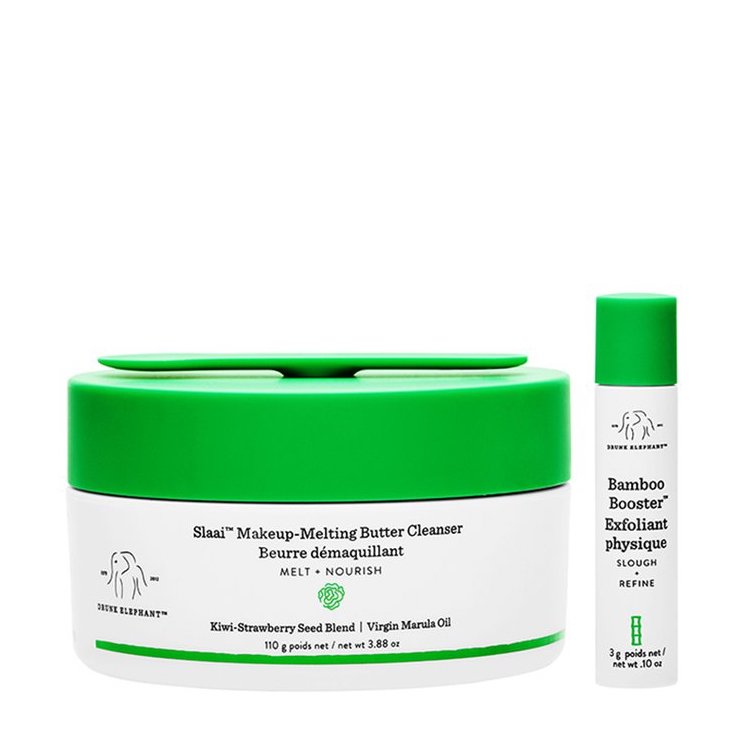
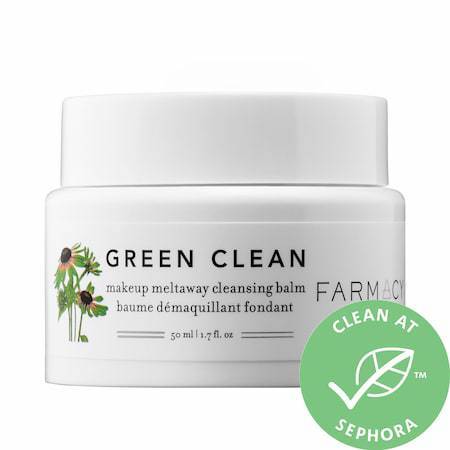
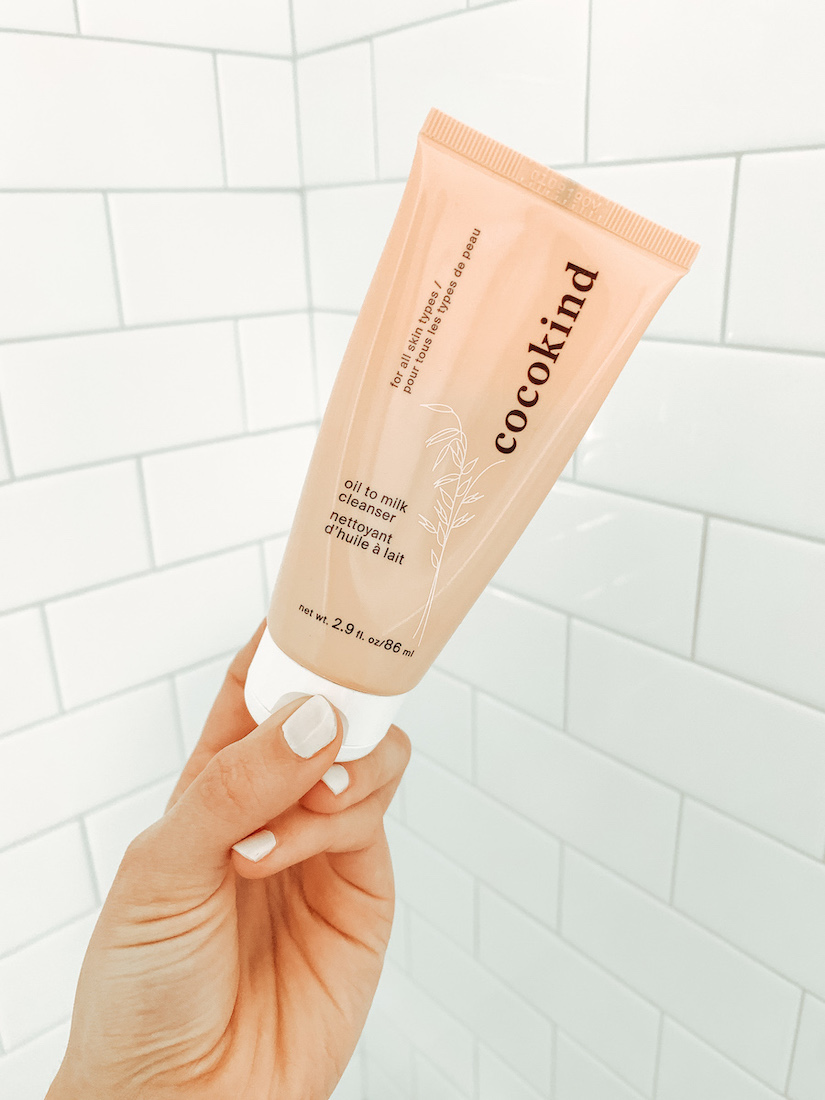
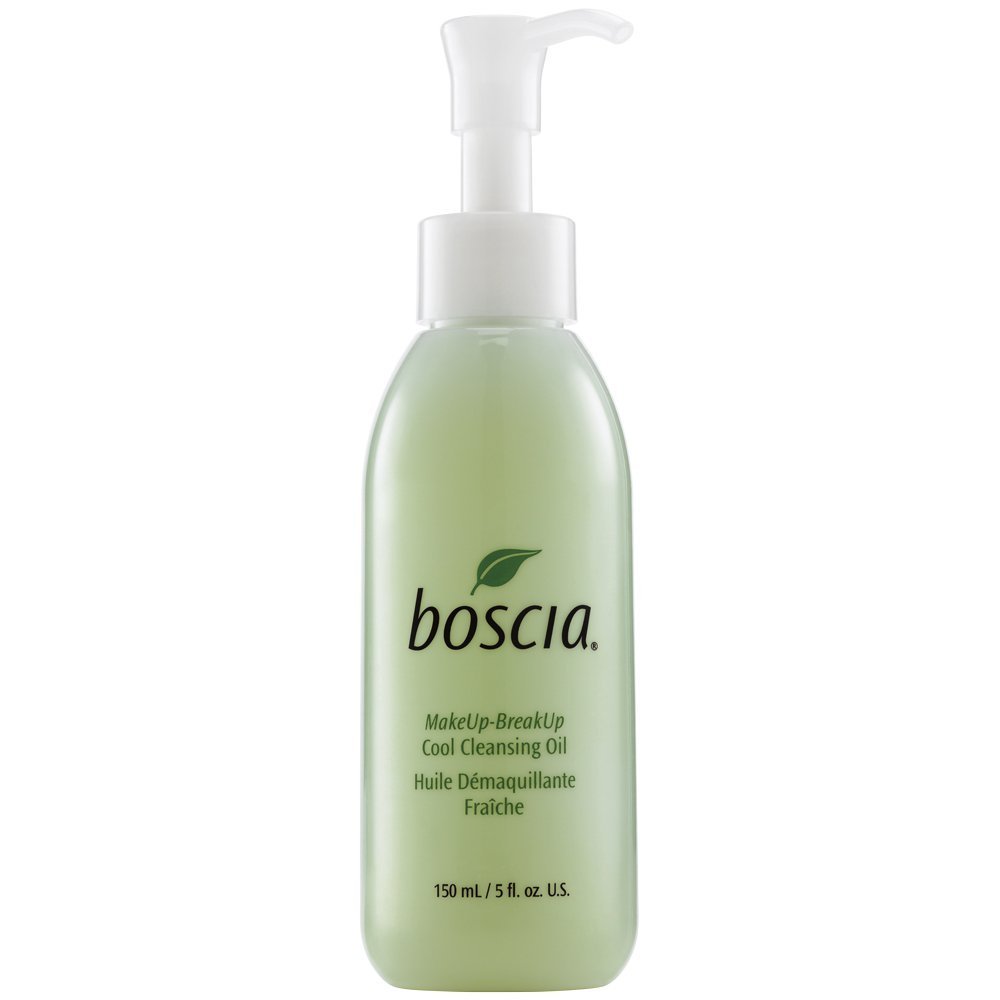
Our favorite oil cleansers:
Step Two: Water-Based Cleanse
Now that you’ve removed all that makeup and daily dirt from your skin, the next step is using a water-based cleanser. This is pretty much any cleanser you’ve used most of your life! The important thing to remember is that water-based cleansers have a nasty habit of sneaking not-so-great ingredients into their formulas…so be aware!
Why water-based cleanse?
Water-based cleansing is essential to clearing out your skin and preventing clogged pores and breakouts. When used properly, water-based cleansers do an excellent job at preparing your skin for the next steps of your routine. A good cleanse will allow all your other products to penetrate deeper and be more effective!
Water-based cleansers should be applied with your fingertips, using circular motions for at least 60 seconds! Anyone else guilty of not washing your face long enough?! Also, just like any other step of your routine – don’t forget to cleanse your neck! After cleansing, be sure to pat dry with a clean towel.
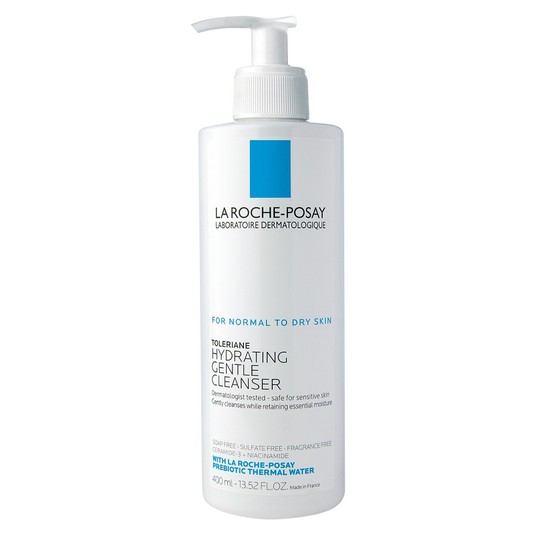
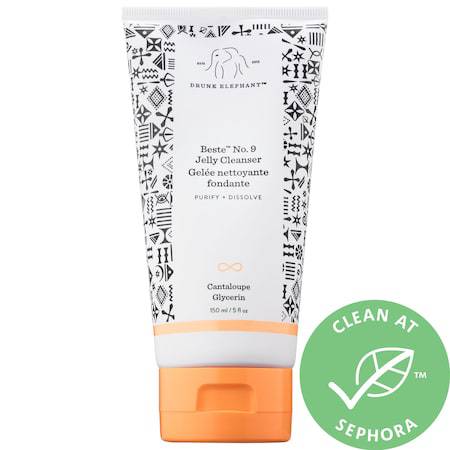
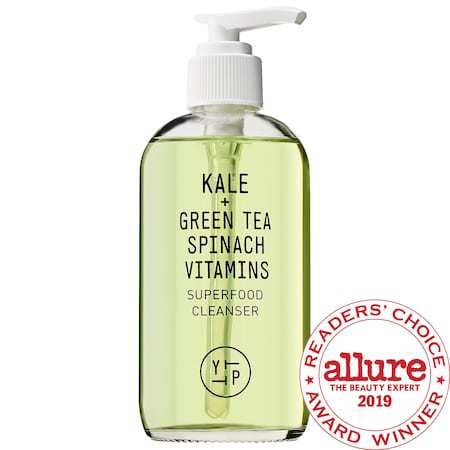
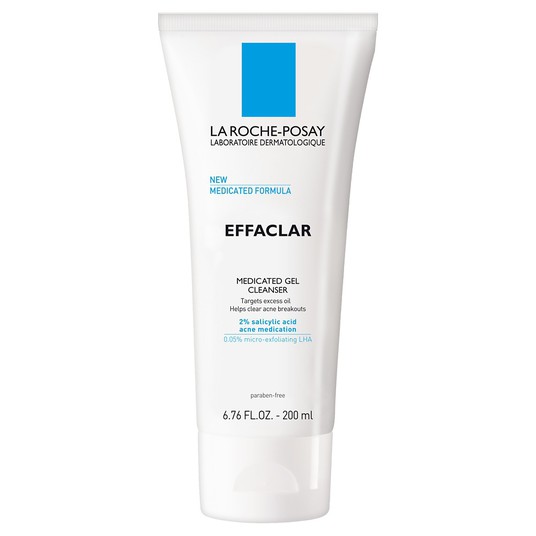
NOTE: When looking for a water-based cleanser, be sure to look for a cleanser without sulfates! Sulfates are an emulsifier that cause the foaming, but they are super drying and damaging to the skin! You can find foaming cleansers without sulfates, like this one from Youth to the People, but we also have a whole blog post about non-foaming cleansers here!
Our favorite water-based cleansers:
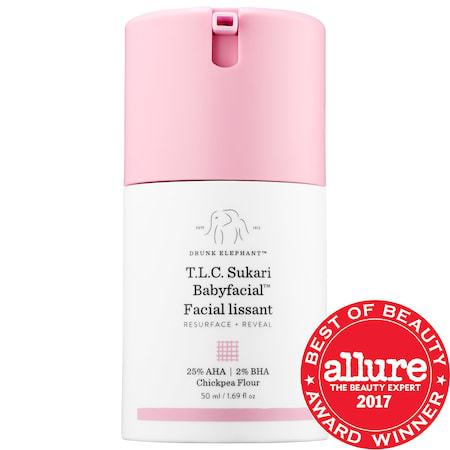
Step Three: Deep Exfoliation (Only 1-3x per week)
Depending on your skin type, a deeper, more intense exfoliation will be necessary around 2-3 times per week. While some serums will provide daily exfoliation (look to step seven), most of us could use a deep exfoliation every so often!
Why deep exfoliation?
When done right, exfoliation is a key player in preventing breakouts and dullness by removing the barrier of dead skin cells on the surface and uncover fresh new ones! A regular and balanced exfoliating routine will keep your skin looking balanced and healthy. Exfoliating can be done physically or chemically.
Physical exfoliation is done by using somes sort of brush or scrub. So whether it’s a facial cleansing device or your favorite face scrub, it will effectively remove that layer of dead skin cells. Another great physical exfoliating process is dermaplaning (a.k.a. Face shaving!). Chemical exfoliation uses chemicals such as AHAs and BHAs to dissolve the “glue” that binds old skin cells together on your skin’s surface. Although the term “chemical” can seem aggressive, chemical exfoliants are often more gentle than physical scrubs…imagine that!
NOTE: Over exfoliating can be very damaging to the skin! It’s super common for our acne-prone friends to exfoliate the heck out of those pesky pimples, but that can actually do more harm than good! Also, some face scrubs can actually cause mini tears in the skin! Watch out for walnut shell as an ingredient…it’s one of the biggest culprits!
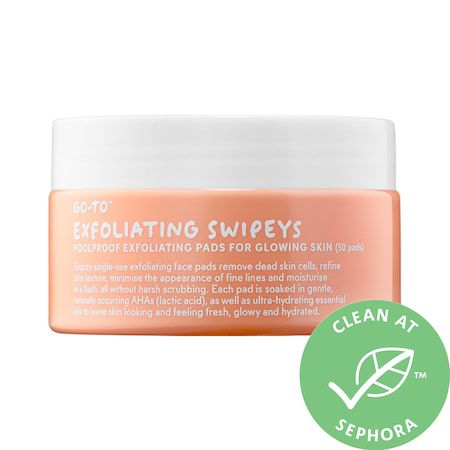
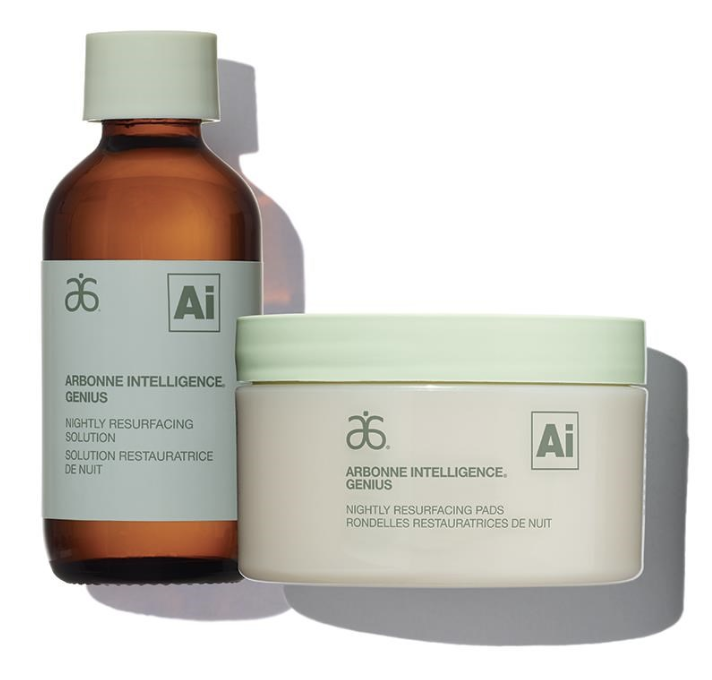
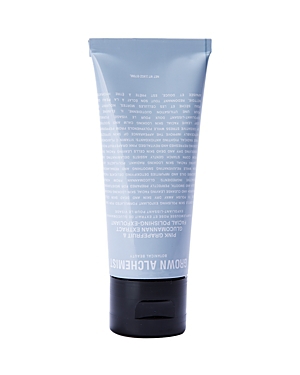
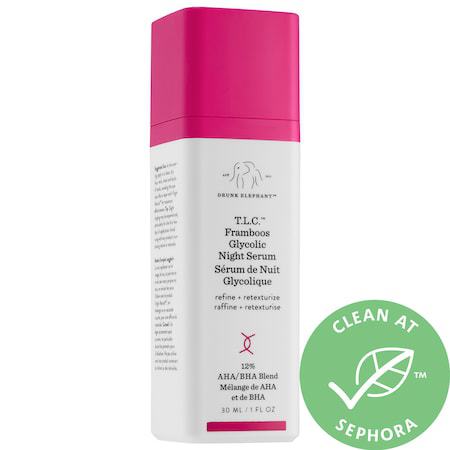
Our favorite exfoliants:
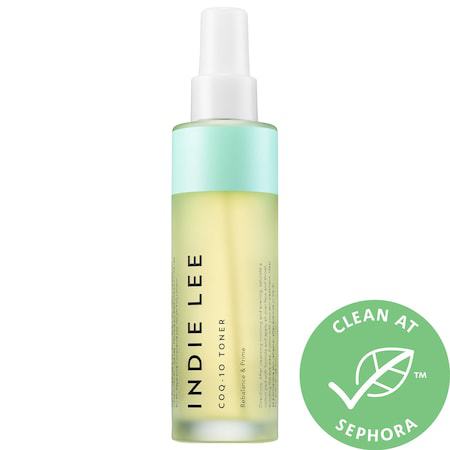
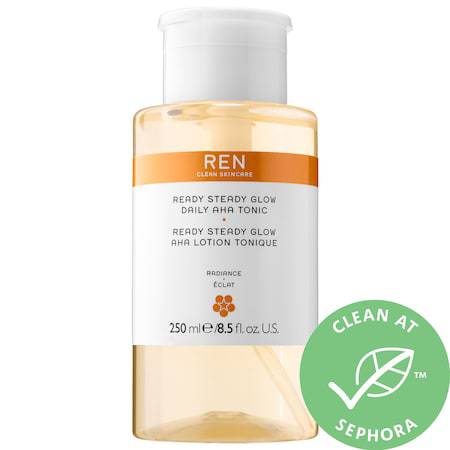
Step Four: Toner
Toner seems to always get pushed to the side. No one ever really feels like it’s an essential step, which is so funny because it’s arguably one of the most important! While different toners do different things, the main idea is toner is a fast-penetrating liquid that gives the skin a quick boost of hydration and helps remove some dead skin off the surface of the skin.
Why use a toner?
Toning is an essential step to having balanced-flawless skin! A toner can do a multitude of things depending on which one you buy according to your skin type, but the general gist is it is ultra hydrating, pH balancing, and usually delivers exfoliants, antioxidants and anti-inflammatories to the skin! They are usually applied by saturating a cotton pad and wiping in upward and outward motions on your face.
NOTE: Based on your skin type, there are different ingredients in toners you should be looking for!
Large pores – look for alpha hydroxy acids like glycolic acid
Sensitive skin – look for skin calming botanicals
Acne-prone/oily skin – look for salicylic acid or witch hazel
Dull skin – look for natural exfoliants like papaya extracts and lactic acid
Dry skin – find fermented yeasts and amino acids
Mature skin – look for antioxidants and hydration like hyaluronic acid, and glycerin, rose water.
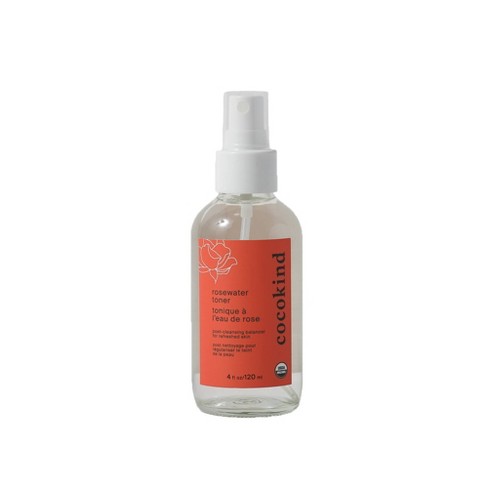
Our favorite toners:
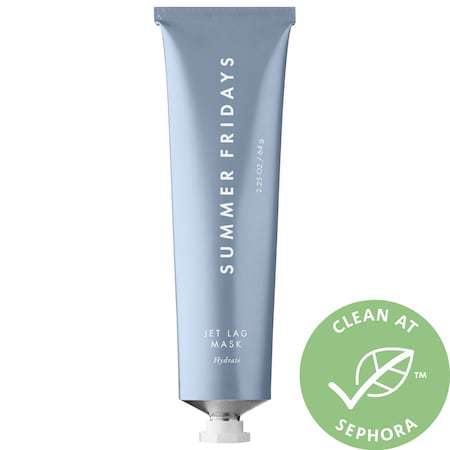
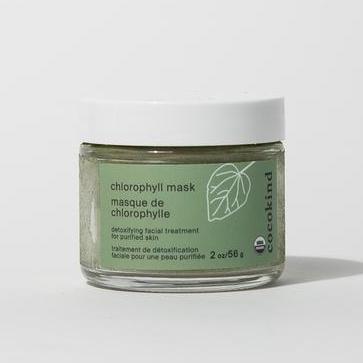
Step Five: Mask (Only 1-3x per week)
No self-care Sunday is complete without a mask, amirite?! In all seriousness, as Insta-worthy as masking can be, masks are the solution to almost every skin problem out there. Super dry? There’s a mask for that. All clogged up? There’s a mask for that. Feeling dull? Yep, there’s a mask for that.
Why mask?
As trendy as it can be, when used regularly, masks can be serious game-changers in your routine. While the benefits of masks can seem pretty obvious, the point of a mask is to treat your skin for an extended period of time…allowing full absorption of nutrients to reach their optimal effectiveness.
NOTE: Always read the instructions on a mask! Most will tell you how often to use it and any precautions to take. They will always tell you how long to keep it on. If you break their rules, you could end up with serious damage to your face!
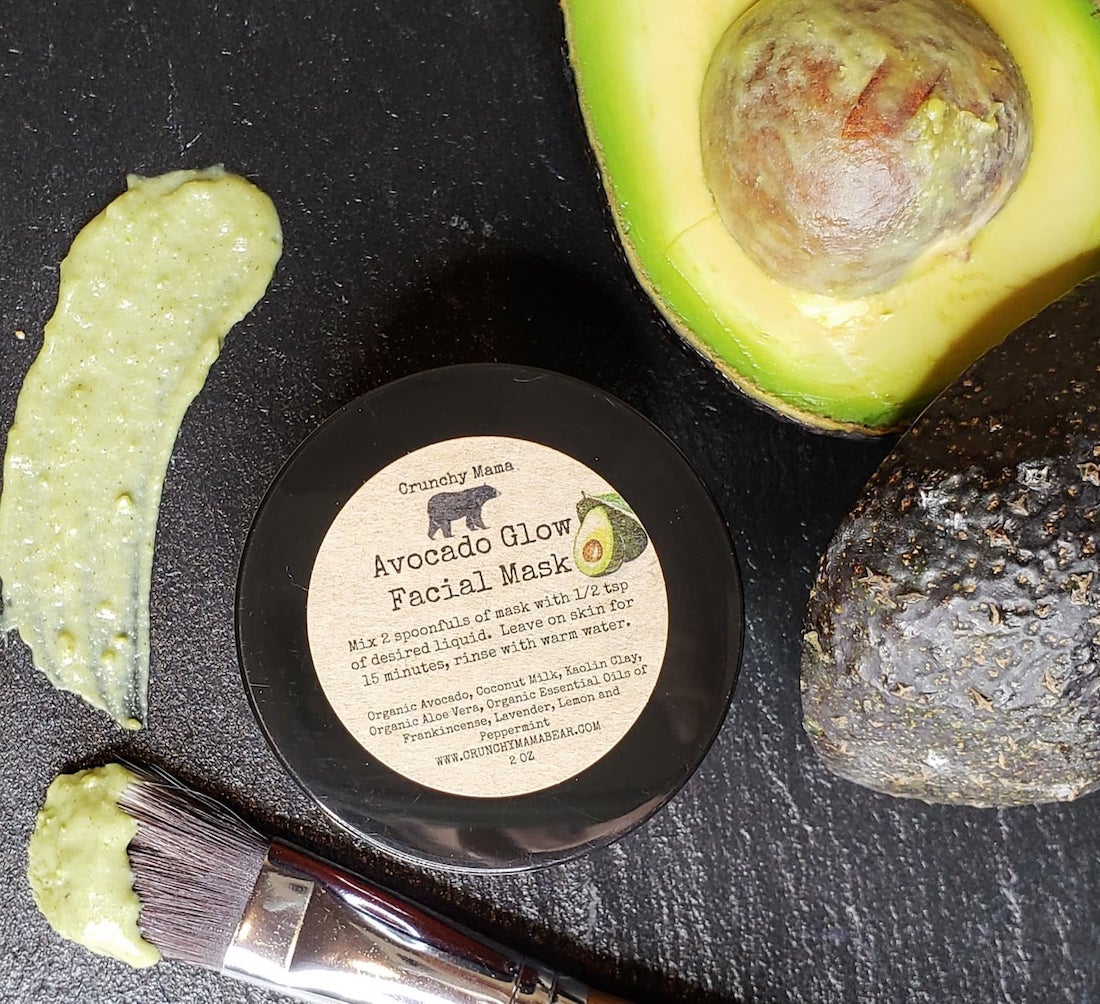
Our favorite masks:
Step Six: Essence
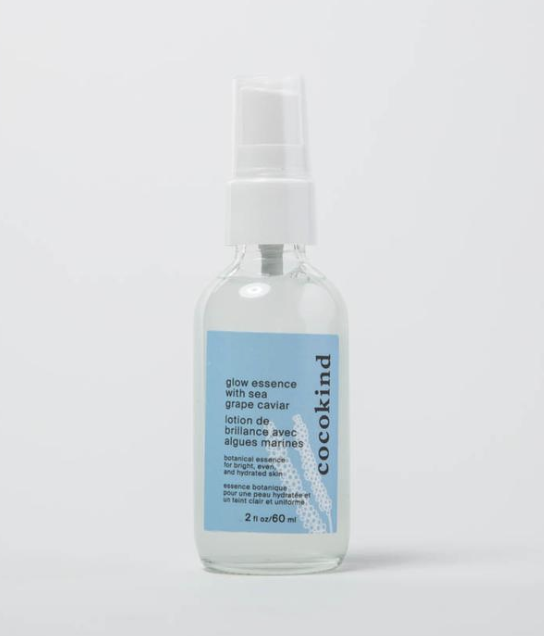
Essences are often confused with toners and understandably so! They’re usually delivered and applied in the same type of way, but they are actually quite different! By definition, an essence is a lightweight, ultra-hydrating liquid that absorbs deeply into the skin and preps your skin for what’s to come next. In essence (punny!), an essence helps make all your other pricey products more effective!
Why use an essence?
After toning, your skin is usually a little drier. In order to prepare your skin for what’s to come (serums and moisturizers), you need to get it into a moist state. If you think of your skin as a sponge, when a sponge is dry, it’s harder for it to absorb liquids, but when it is damp, it can much easier absorb products! When it comes to moisturizing products, most moisturizers and oils have larger molecules and they are only absorbed in the top layer of the skin. Essences are composed of smaller molecules that are able to get past that top layer and deep into your skin.
How to use an essence: Do not saturate a cotton pad with your essence! It will just waste those precious, nourishing molecules. Instead, apply a little to your fingertips and pat and press it into your skin for optimal effectiveness!
Our favorite essence:
Step Seven: Serums
I like to think of serums as magic in a bottle! The point of serums is to deliver highly-concentrated ingredients in an absorbable form to deeply penetrate into your pores! From vitamin C to hyaluronic acid to chemical exfoliants like AHA & BHA, serums are your best friend when it comes to a game-changing skincare routine.
Why use a serum?
Although on a surface level it may seem like a serum is pointless since you can find similar ingredients in a cleanser or a moisturizer, a serum allows those ingredients to deeply penetrate the skin, while a moisturizer creates more of a protective barrier. For example, your moisturizer and your serum may include hyaluronic acid, but if you were to only use your moisturizer, that hyaluronic acid wouldn’t be able to penetrate as deeply! Make sense?!
So there are a TON of serums out there that do a million different things. There’s absolutely no way I could get into all of the benefits of serums on here, but let’s break down the best serums for each skin type and that will at least get you started!
- Acne-prone: Look for vitamin C (increases collagen production, helps repair skin and reduces inflammation), retinol (an antioxidant and reduces inflammation), zinc (soothes irritation and regulates oil production) and salicylic acid (unclogs pores).
- Dry: Look for vitamin E (antioxidant that protects from oxidation), niacinamide (improves elasticity and increases ceramide levels), glycolic acid (gently exfoliates) and hyaluronic acid (helps retain moisture).
- Dull: Look for all the antioxidants such as green tea extract, resveratrol, and ferulic acid. All of these ingredients combat free radicals, increase SPF’s effectiveness, and promote cellular repair and healing.
NOTE: Exfoliating serums that use AHAs, BHAs, or retinoids should only be used at night! They make your skin very sensitive to UVA and UVB rays. During the day, I like to use my hydrating and restorative serums that incorporate vitamin C and hyaluronic acid!
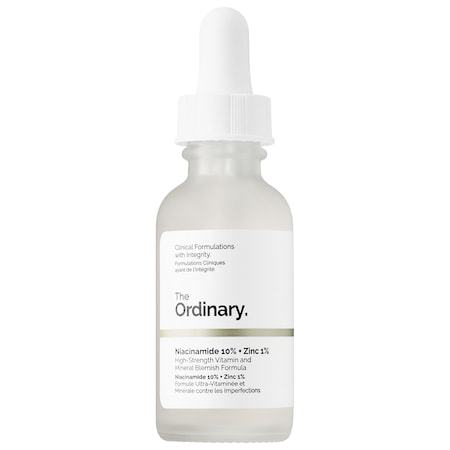
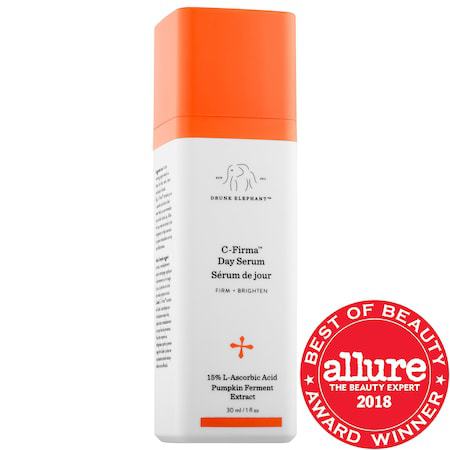
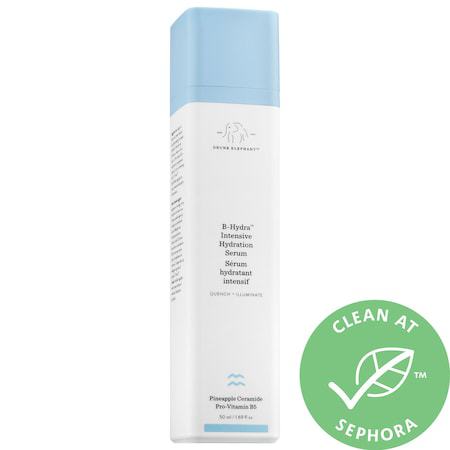
Our favorite serums:
Step Eight: Moisturizer
Most of us would never argue against the use of a moisturizer! Chances are all of us have been using a moisturizer in our routines since the beginning. While the purpose of a moisturizer may seem pretty obvious (to moisturize…duh), it also has numerous other benefits!
Why use a moisturizer?
Think of moisturizer as your shield to protect your skin throughout the day. While it has a host of other benefits, it’s main purpose is to hydrate and sit on the top layer of your skin. As a general rule of thumb, thicker and heavier creams should be used in the evening and lighter creams during the day. That said, if you have oily or acne-prone skin, you may not ever want to use a super heavy cream. All in all, listen to your skin and watch how it responds to different moisturizers.
While there are SO many moisturizers on the market, the best of them will include these three things:
- Antioxidants. These can come from plants, vitamins, and other sources, but they will help defend the skin against environmental stressors and soothe stressed skin.
- Replenishing ingredients. These are ingredients that are naturally in our skin already, but we lose them with age and sun damage. We’re talking things like glycerin and ceramides.
- Restoring ingredients. The best restoring ingredients will help get your skin back to the way it was before it was damaged. Look for ingredients like peptides, niacinamide and retinol.
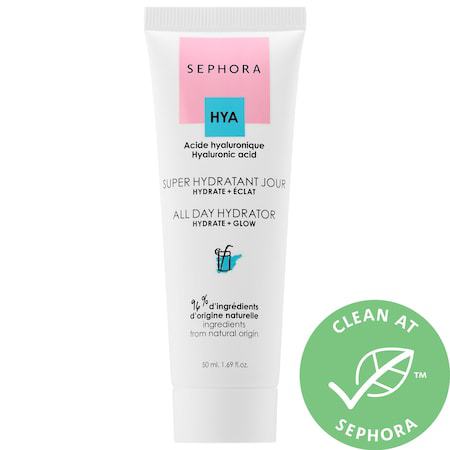
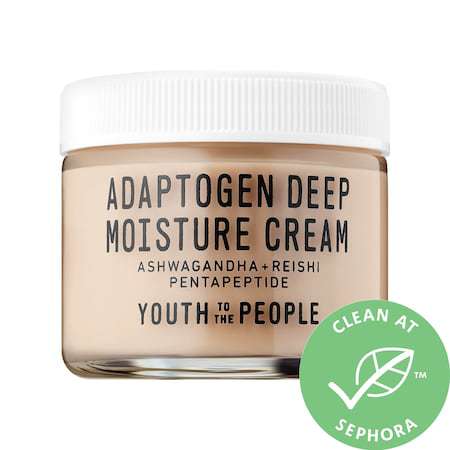
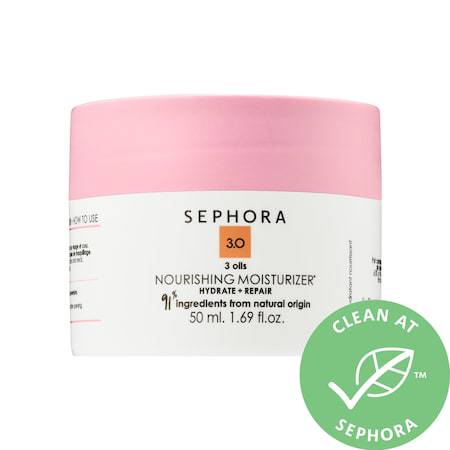
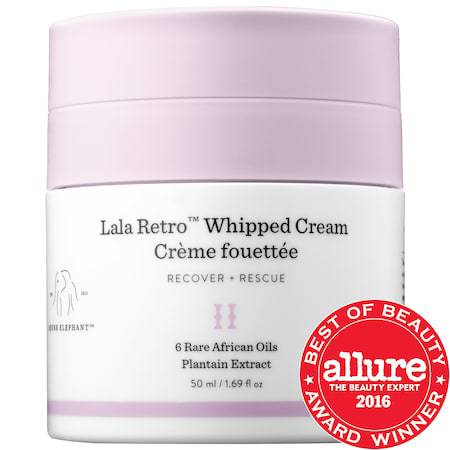
Our favorite moisturizers:
Step Nine: Oils
Oils are a seemingly controversial skincare step. For a long time, we all thought oil was the enemy. We all spend the day trying to keep our oil at bay, why would we add more oil to our face?! Turns out there’s a ton of benefits to using an oil in your skincare routine…including reducing your own oil production (who would’ve thought!!).
Pro-tip: Combine step six and seven and add a few drops of oil to your moisturizer, mix it up on your finger tips and apply to your skin! This helps distribute product evenly over the skin.
Why use an oil?
Simply put, oils are deeply nourishing and super hydrating. Usually naturally-derived, oils are like nature’s medicine for your skin. Oils are full of vitamins and ultra-protective and restorative properties. Skipping out on this step is like skipping your daily multi-vitamin!
The trick with oils is to make sure you’re never using too much and be sure you’re using the right ones for your skin type. Let’s break it down type-by-type:
- Dry skin. Look for oils that are nourishing and full of omega fatty acids such as marula, coconut or squalane!
- Normal skin. Make sure you don’t use oils that are too heavy. Squalane, jojoba and marula oils are your best bet.
- Acne-prone skin. Opt for lightweight oils such as squalane, jojoba, and tea tree oils. These oils will actually kill acne-causing bacteria!
- Oily skin. Look for low-comedogenic oils like argan, buckthorn, rosehip, or also any of the ones recommended for acne-prone skin.
- Anti-aging needs. Rejuvenating oils such as arga, rose, sunflower, almond, and raspberry oil will be your best friends!
NOTE: If you’re not sure your skin type, but know you need to incorporate an oil, you should turn to squalane! This oil’s molecules are very small and can be easily absorbed into the skin. It’s benefits are great for all skin types.
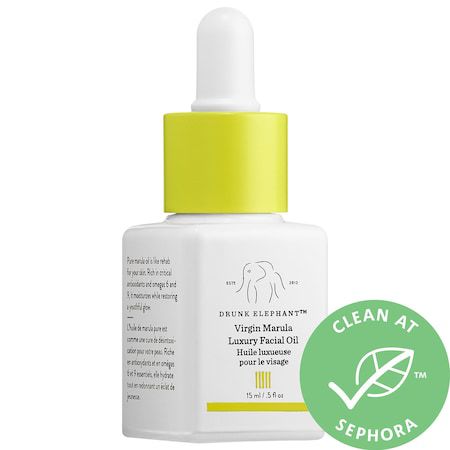
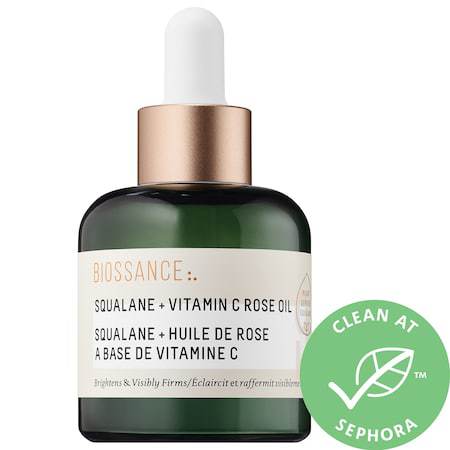
Our favorite facial oils:
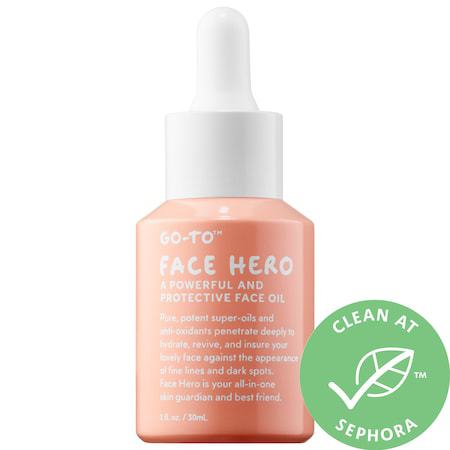
Go-To Face Hero | $34
Step Ten: Facial Massage/Jade Rolling
If you’ve been on Instagram at all in the past year, chances are you’ve seen a jade roller or some other sort of facial massage device. At first, Claudia and I thought these little doodads were a little gimmicky. We didn’t want to cave to the trend! Then we received a jade roller in our FabFitFun box and we were HOOKED.
Why facial massage?
Simply put, facial massage is great at keeping your lymphatic system up and running! (It’s the same reason why we love dry brushing our body before hopping in the shower.) Lymphatic fluid is waste that is flowing from your lymph nodes and needs to be returned back to the cardiovascular system. As a result, you’ll see a huge reduction in puffiness! Other benefits to facial massage include increasing circulation and releasing tension! Both of these benefits lead to healthy-flushed skin and the appearance of being more rested. Another huge perk is that it allows your skin to absorb all your nutrient-dense products a little more quickly!
PRO TIP: keep your jade roller in the fridge for extra de-puffing magic! Also, make sure you start from the center of your face and work outwards toward your hairline.
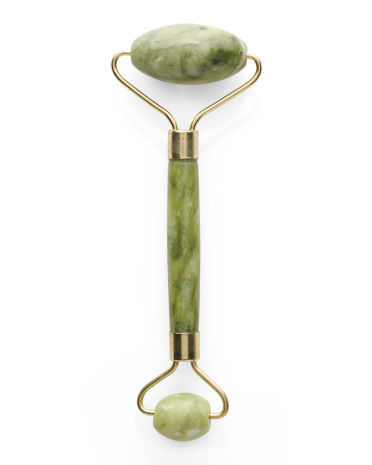
Our favorite facial massaging products:
Step Eleven: SPF
Arguably one of the most important steps in your skincare routine and one of the most commonly skipped, SPF is essential to maintaining healthy, youthful skin. The amount of damage the sun can do in just a teeny bit of time is honestly terrifying for a beauty fanatic.
Why SPF?
SPF stands for Sun Protection Factor (did you know that?!) and is a measure of how well a sunscreen will protect the skin from UVA and UVB rays. Whether its a bright and beautiful day or more dreary and dark, you should ALWAYS apply sunscreen. Sunscreen plays a big role in not only protecting from things like skin cancer, it also helps prevent damage from the rays that can cause wrinkles and premature aging.
NOTE: The two types of SPF are mineral and chemical. While they both have their pros and cons (we broke it down in a recent Instagram post), Claudia and I typically reach for a mineral sunscreen on a daily basis since it’s generally perceived as safer and more natural. That said, chemical sunscreens are great for a beach day or a workout since they are much more durable and long-lasting!
Our favorite SPF products:
PHEW. That was a lot.
I know eleven steps can seem like a lot. I totally get it! If you must eliminate some, your daily skincare routine should look like:
- Double-cleanse (oil and then water-based)
- Toner
- Moisturizer
- SPF
While that leaves out a bunch of powerful and fun products like serums, essences, masks, etc., these steps will leave your skin feeling pretty healthy and clean! The other steps in the routine are best when treating specific needs at a higher level.
Do any of you already follow a similar routine?! What does it look like for you? What are your favorite products?





4 comments
[…] tip: Check out this post for a step-by-step skincare routine […]
[…] tried 13 Drunk Elephant products (they have a product for bascially every step of your skincare routine) and I’m here to dish my real […]
[…] Oil cleansing and double cleansing should be the first step in your nighttime skin care routine! […]
[…] experimenting with endless products and routines, we’ve narrowed down our go-to steps for a summer skin care routine, because summer is not over yet, […]